Do you know what icebox cookies are?
If you do, you’re already aware that they’re a game changer when it comes to simple, yet festive cookies. And if you don’t, you’re in for a real treat—trust me, icebox cookies are worth making today. I promise, you won’t regret it.

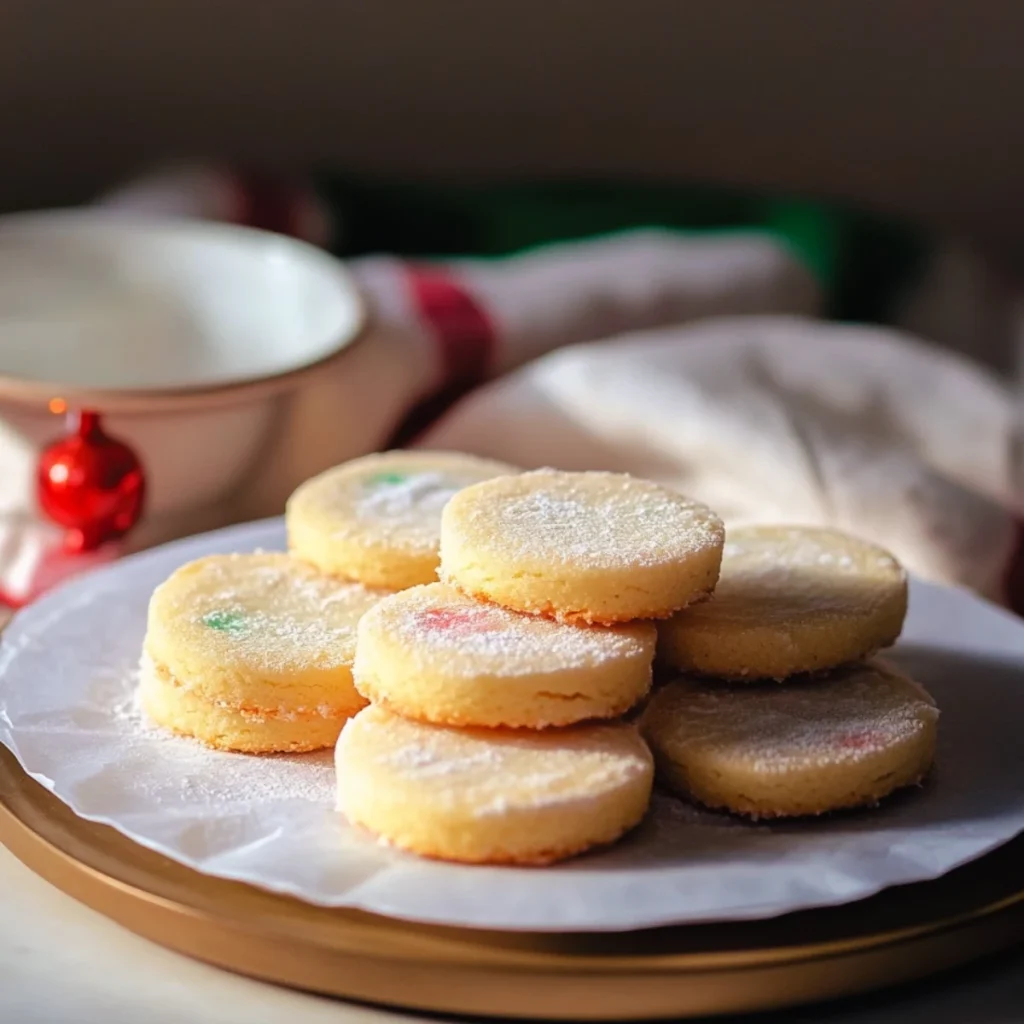
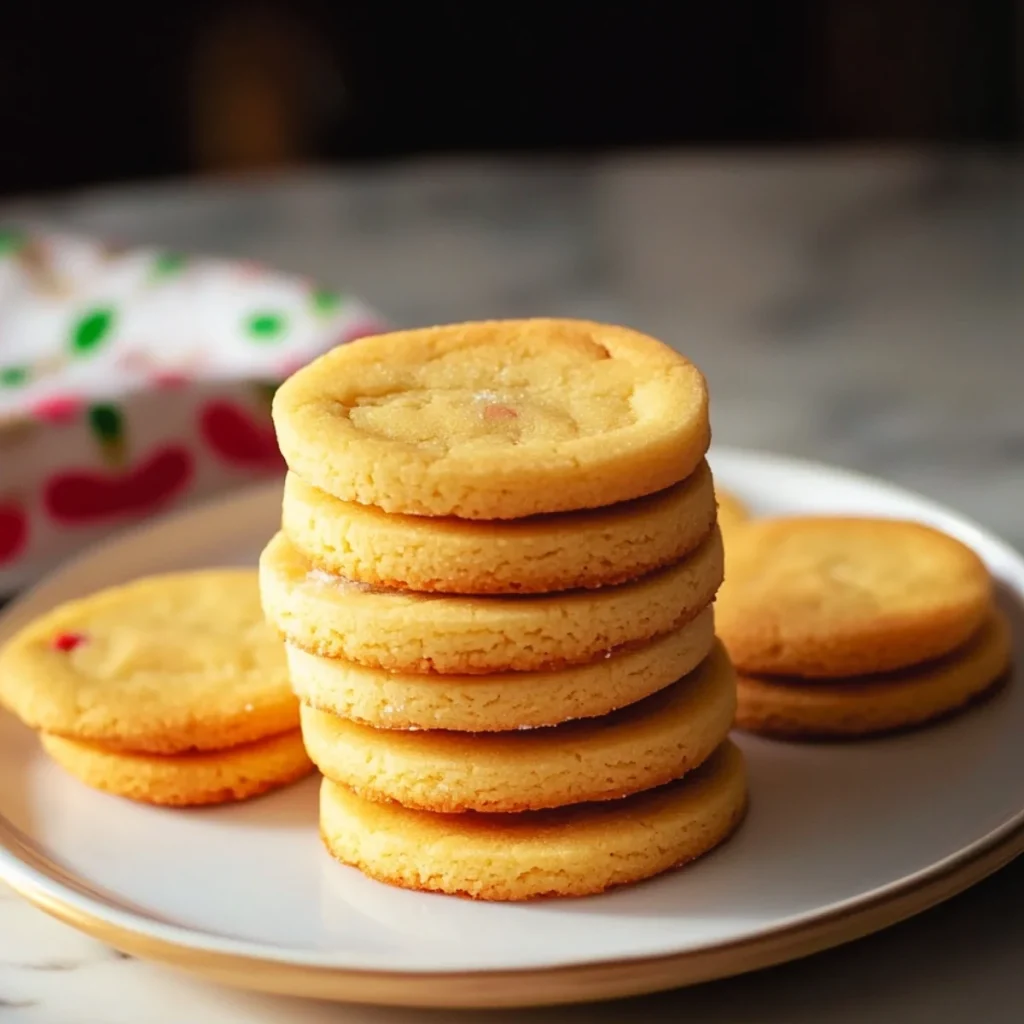
These cookies are deceptively simple yet deliciously elegant. They have that perfect balance of crispy edges and soft centers, and the chewy bits of candied cherries give them a festive touch. Honestly, I can’t think of a better cookie to bring joy to your holiday table, or to brighten up any day of the year. Even though I remember them as a Christmastime tradition, there’s no reason you can’t make them whenever you’re craving something sweet and nostalgic.
Let’s take a walk down memory lane. I remember the boxes of icebox cookies my mom would buy during the holidays when I was a kid. The cookies came from Dominion (a grocery store in Canada) and had that perfect combination of flavors: buttery soft dough, crispy edges, and little bursts of chewy cherries. It wasn’t gourmet by any means, but these cookies were an important part of Christmas for me. So, why not make icebox cookies year-round? Seriously—who says we can’t indulge in holiday sweetness in the middle of summer?
This recipe is adapted from one I found in Canadian Living, and I’m so happy to share it with you. It’s easy, fun, and results in a huge batch of cookies, perfect for sharing with family and friends. Let’s dive in!
Ingredients:
- 1 cup butter, softened to room temperature
- 1 cup sugar
- 1 egg
- 2 teaspoons vanilla extract
- 2 2/3 cups all-purpose flour
- 1/2 teaspoon baking powder
- 1/2 teaspoon salt
- 3/4 cup candied red &/or green cherries, roughly chopped (feel free to mix it up with other festive add-ins if you prefer)
Instructions:
1. Cream the Butter and Sugar
In a large mixing bowl, beat the softened butter and sugar together for about 3 minutes. You want the mixture to become light and fluffy. Once that’s done, add the egg and vanilla extract. Beat again for another minute, scraping down the sides of the bowl as needed.
2. Mix the Dry Ingredients
In a separate medium-sized bowl, whisk together the flour, baking powder, and salt. Gradually add the dry ingredients into the butter mixture, stirring until everything is well incorporated. Don’t forget to add the chopped candied cherries (or whatever festive add-ins you choose). Mix them in until evenly distributed throughout the dough.
3. Shape and Chill the Dough
Next, divide the dough into three equal portions. Take one portion at a time and place it on a large sheet of waxed or parchment paper. Roll each portion into an 8-inch log. Once that’s done, wrap each log tightly in plastic wrap. Refrigerate the dough for at least 3 hours, or until the logs are firm and ready to be sliced.
4. Preheat and Slice the Dough
When you’re ready to bake, preheat your oven to 375°F (190°C). Remove the dough logs from the refrigerator and, using a sharp knife, slice them into 1/3-inch thick rounds. Be careful! The dough should be very cold for the best results—this will make slicing much easier and give you those perfect cookie edges.
5. Bake the Cookies
Place the sliced dough rounds on a parchment-lined baking sheet, making sure to leave about 2 inches of space between each cookie. Bake for 10-12 minutes, or until the cookies are lightly browned at the edges. Allow the cookies to cool for a few minutes on the baking sheet before transferring them to a wire rack to cool completely.
Tips for Perfect Icebox Cookies:
- Chill the Dough: This step is absolutely crucial. The dough must be cold when you slice it, or you’ll end up with a mess of dough sticking to the knife. Trust me, I’ve learned this lesson the hard way! If the dough is too soft, pop it back in the fridge for a few more minutes.
- Shaping the Dough: If you have trouble getting your dough to keep a nice round shape while chilling, try this trick: Use an empty paper towel tube to help keep the dough in a round log shape. Cut the tube open and fit the dough inside—this helps the dough maintain its shape while it chills.
- Want Thicker Cookies? You can absolutely make thicker cookies! Just slice the dough a little thicker and bake them for a couple of extra minutes. You can also create square-shaped cookies by gently pressing down the edges of the dough log before slicing.
- Get Creative: You’re not limited to candied cherries! Feel free to switch it up by adding mini chocolate chips, finely chopped nuts, or even sprinkles for extra fun. If you’re in the mood for a more decadent treat, roll the dough in toffee bits or turbinado sugar for a little extra crunch.
Freezing the Dough:
One of the best parts of this recipe is how you can make these cookies ahead of time. If you’ve got extra dough (or want to save some for later), you can freeze the logs of dough before baking them. Simply wrap them tightly in plastic wrap and store them in the freezer. When you’re ready to bake, just thaw the dough, slice, and bake as usual. This is why these cookies are called icebox cookies—because they’re stored in the freezer, making them perfect for prep-ahead baking.
Final Thoughts:
Whether you’re baking these icebox cookies for the holidays, a special occasion, or just because, they’re sure to be a hit. The combination of soft, buttery dough and chewy, colorful candied cherries makes each bite a nostalgic delight. This recipe makes a large batch, so feel free to share with friends, family, or neighbors. And don’t forget, you can freeze the dough for a rainy day treat, so you’re never too far from a batch of homemade cookies.
Happy baking, and enjoy every sweet bite of your homemade icebox cookies!
For those who enjoy classic holiday baking traditions, these icebox cookies are a must-try. They are easy to make, customizable, and sure to bring joy to everyone who tries them. Don’t wait—get started on these delectable treats today!