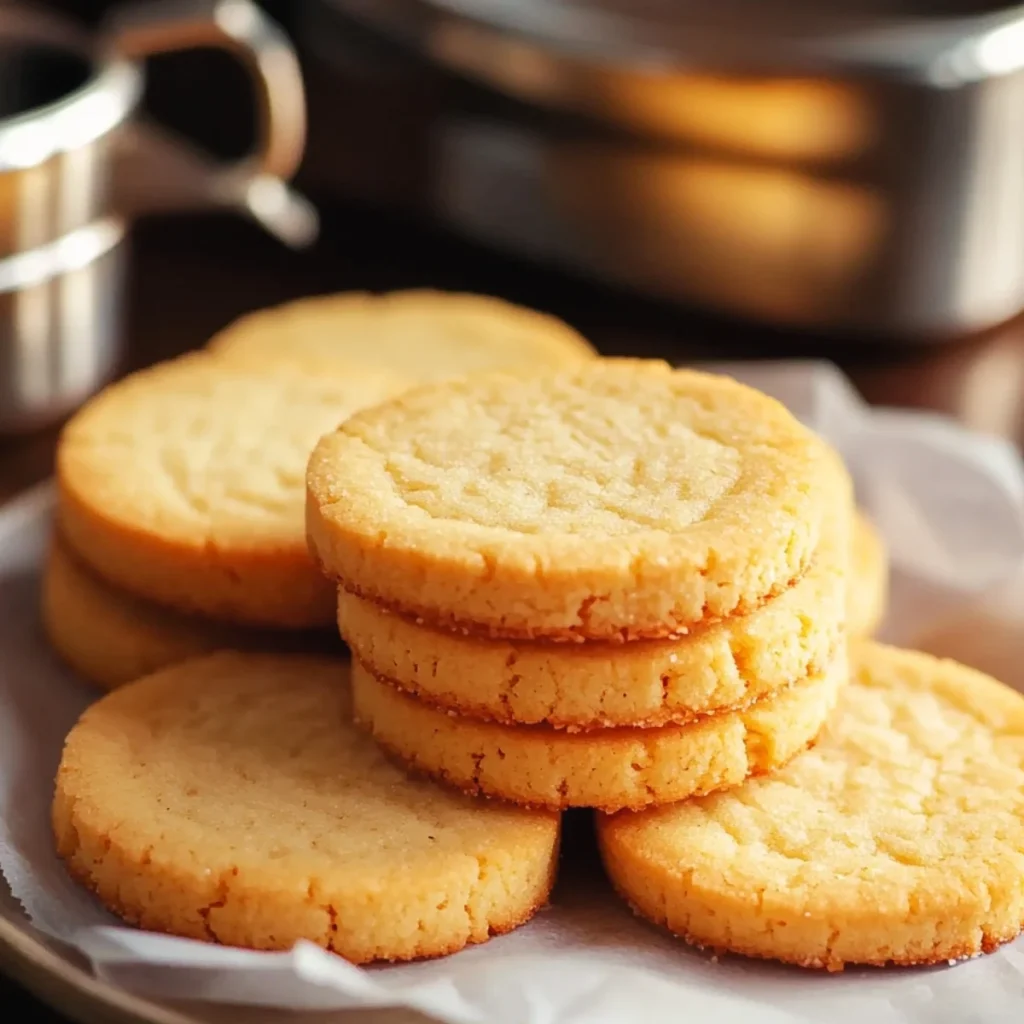
Butter cookies are one of those timeless, irresistible treats that never go out of style. Their rich, buttery flavor, crisp edges, and melt-in-your-mouth texture make them a favorite among cookie lovers. Whether you’re making them for the holidays or simply indulging in a sweet snack, these butter cookies will surely delight.
In this easy-to-follow recipe, I’ll guide you through how to make these perfect butter cookies from scratch, with tips for achieving the best results, and answers to common questions. Let’s get baking!
Why You’ll Love These Butter Cookies
These butter cookies are more than just a delicious treat—they’re versatile and easy to make. Here’s why I keep coming back to this recipe:
- Simple Ingredients: With just flour, butter, sugar, and vanilla extract, these cookies are made from pantry staples.
- Make-Ahead Dough: The dough can be made in advance and frozen, so you can enjoy fresh cookies whenever you want.
- Perfect Texture: These cookies are crispy yet melt-in-your-mouth soft—no soggy bites here!
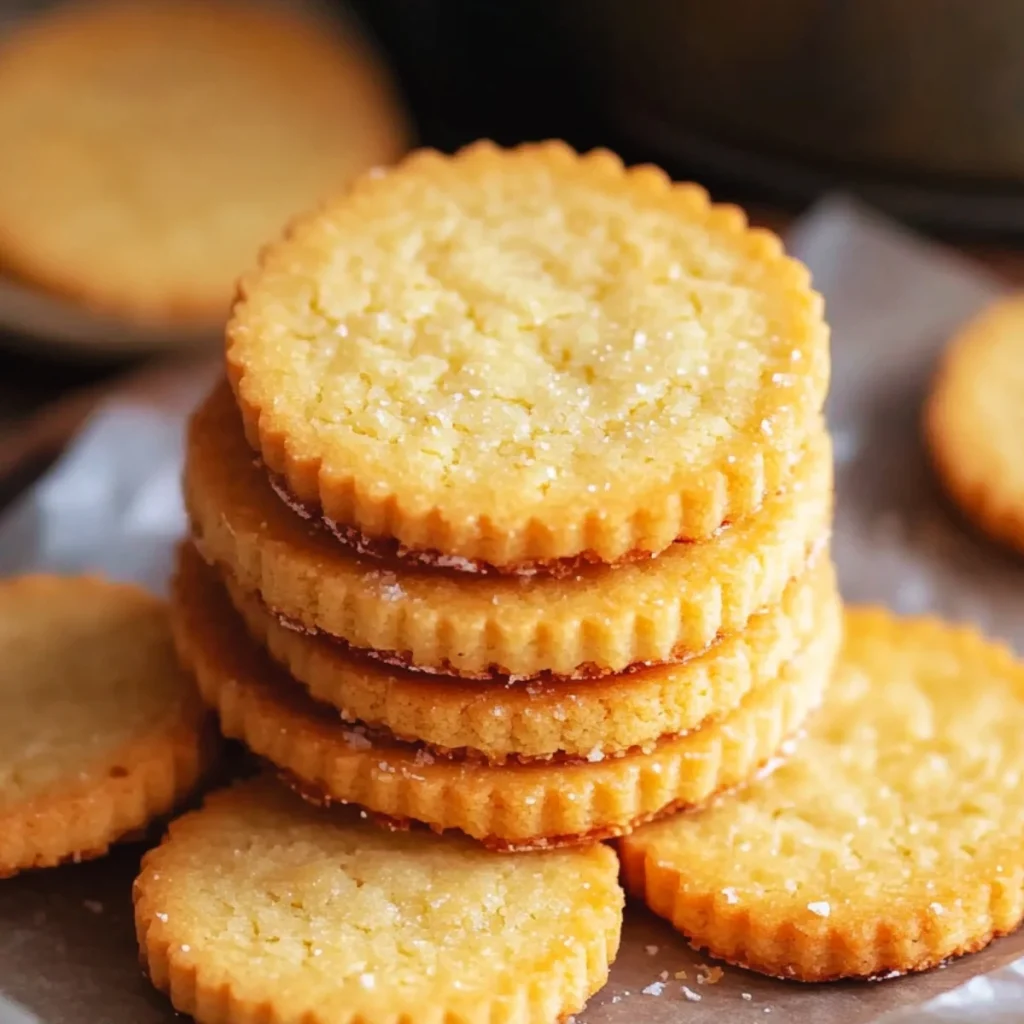
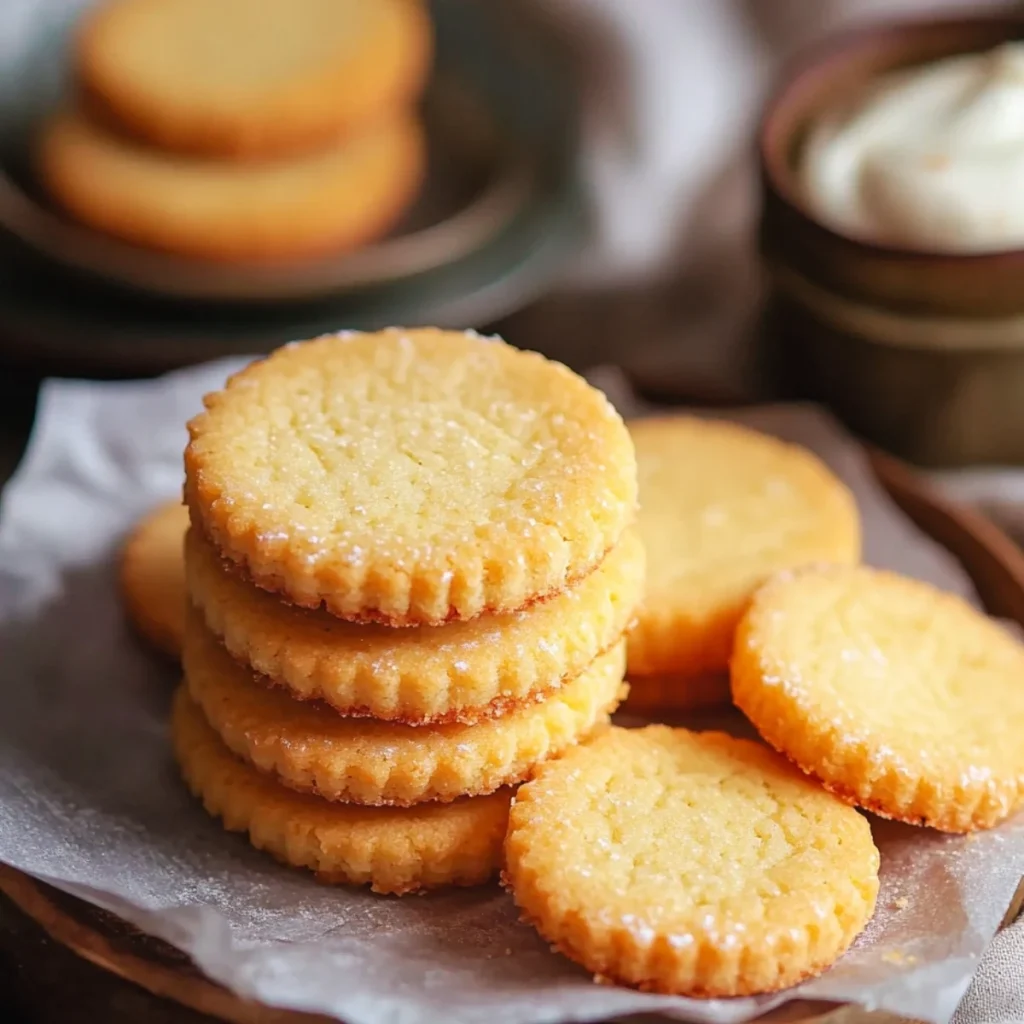
- Customizable: Add sanding sugar for extra crunch, or cut them into fun shapes for a festive touch.
Ingredients for Butter Cookies
Here’s everything you need to make these buttery, crispy cookies:
- 2 cups all-purpose flour (240g) – The base of the dough.
- ½ tsp salt (3g) – To balance the sweetness and enhance the flavor.
- 1 cup unsalted butter (227g) – The key to a rich, melt-in-your-mouth texture.
- ½ cup granulated sugar (100g) – To add sweetness without overpowering the butter flavor.
- 2 egg yolks – Adds richness and helps bind the dough.
- 2 tsp vanilla extract (5mL) – A key flavor that complements the butter.
- ⅓ cup sanding sugar (optional) – For a sparkling, crunchy finish.
How to Soften Butter Quickly for Cookies
Before you start baking, it’s important to make sure your butter is softened to room temperature. Here’s how to speed up the process:
1. Microwave Method
Place the butter on a microwave-safe plate and heat it for 10 seconds at 50% power. Flip the butter and repeat until softened but not melted.
2. Glass Method
Fill a glass with hot water, let it sit for a minute, then pour out the water. Place the warm glass upside down over your butter. In about 15 minutes, the butter will be softened and ready to use.
Step-by-Step Guide: How to Make Butter Cookies
Now, let’s dive into the process of making these delicious cookies:
1. Measure the Flour
Accuracy is key! If you have a kitchen scale, measure 240g of flour. If you don’t, fluff the flour with a spoon, spoon it into your measuring cup, and level it off with a knife.
2. Cream Butter and Sugar
Add softened butter and sugar to the bowl of your stand mixer. Beat them together until light and fluffy. This step is essential for getting that melt-in-your-mouth texture.
3. Add Egg Yolks and Vanilla
Add the egg yolks one at a time, mixing after each addition. Then, stir in the vanilla extract, which enhances the buttery flavor.
4. Mix in the Flour
Gradually add the flour and mix until it’s just incorporated. Don’t overmix the dough—this will help keep your cookies tender.
5. Shape and Chill the Dough
Roll the dough into a log and wrap it tightly in parchment paper or plastic wrap. Chill in the fridge for at least one hour. Chilling the dough will help the cookies hold their shape and prevent them from spreading too much while baking.
6. Optional: Add Sanding Sugar
For an extra crunch and sparkle, roll the dough in sanding sugar before slicing. This step is optional but highly recommended for a festive touch.
7. Slice and Bake
Slice the dough into rounds about ¼ inch thick. Arrange them on a baking sheet and bake at 350°F (175°C) for 10-12 minutes or until the edges are just golden brown.
Pro Tips for Perfect Butter Cookies
To make sure your butter cookies turn out perfect every time, try these pro tips:
1. Measure Flour Accurately
For the best results, use a kitchen scale. If you don’t have one, fluff the flour, spoon it into your measuring cup, and level it off with a knife. Too much flour can result in dry cookies!
2. Chill the Dough
Chilling the dough helps the cookies maintain their shape and gives the butter time to firm up. The dough should rest for at least an hour, but you can chill it overnight for even better results.
3. Use Sanding Sugar for Extra Crunch
Rolling the dough in sanding sugar gives the cookies a sparkly finish and a nice crunch. If you don’t have sanding sugar, regular granulated sugar works too.
4. For Crispier Cookies
After baking, leave the cookies on the baking sheet in the oven (turned off) with the door slightly ajar. This helps dry them out for that perfect crunchy texture.
5. Use Pure Vanilla Extract
Vanilla is a key flavor in this recipe, so avoid using imitation vanilla. Pure vanilla extract will give your cookies the best flavor.
Frequently Asked Questions
What Butter Should I Use for These Cookies?
I recommend using unsalted butter so you can control the salt content. If you want a richer flavor, look for butter made from grass-fed cows. But any quality unsalted butter will work!
Why Do I Need to Chill the Dough?
Chilling the dough helps prevent the cookies from spreading too much while baking and allows the flavors to develop more fully. It also makes the dough easier to slice.
Can I Make Cut-Out Cookies with This Recipe?
Yes! If you prefer cut-out cookies, form the dough into a disk, wrap it in plastic wrap, and chill. Once chilled, roll the dough out to ¼ inch thick, cut out shapes, and bake.
Conclusion: Bake and Enjoy!
These butter cookies are a true classic, and I’m sure they’ll become one of your go-to recipes too. With their buttery flavor, crisp texture, and simple ingredients, they’re perfect for any occasion. Whether you enjoy them with tea or gift them to loved ones, these cookies will be a hit every time!
Try them today and let me know how they turn out!
Happy baking!